Windshield Chip Repair Process Explained – What Happens in 10 Minutes – 2107 Richmond Ave – Since 1996
Windshield chip repair process explained – what happens in 10 minutes at Chips and Cracks Windshield Repair shop in Houston at 2107 Richmond Ave – Since 1996 – $40 chip $50 crack up to 20 inches – sit in car AC on – cash Zelle Venmo Cash App PayPal.
What Happens During 10 Minute Chip Repair at 2107 Richmond Ave
Video created by auto glass business in Houston Texas at 2107 Richmond Ave – Chips and Cracks – Clint Norris – The Windshield Repair Man – since 1996 – family owned – 95 percent repeat – 15-40 daily. Using top line tools and quality resins – roller toolbox maneuvered to vehicle under tent – all tools needed for any windshield repair job are in position – custom bridges – probes – premium acrylic resin – UV lamp – razor – controlled temp – no dust – no wind – stronger clearer than mobile van – 10-15 min – sit in car AC on – lifetime warranty – $40 chip $50 crack up to 20 inches – text photo 832-335-7386 free estimate – windshield chip repair process explained Houston TX.
Step by Step Process – What To Expect in 10 Minutes – $40 Chip – 2107 Richmond Ave
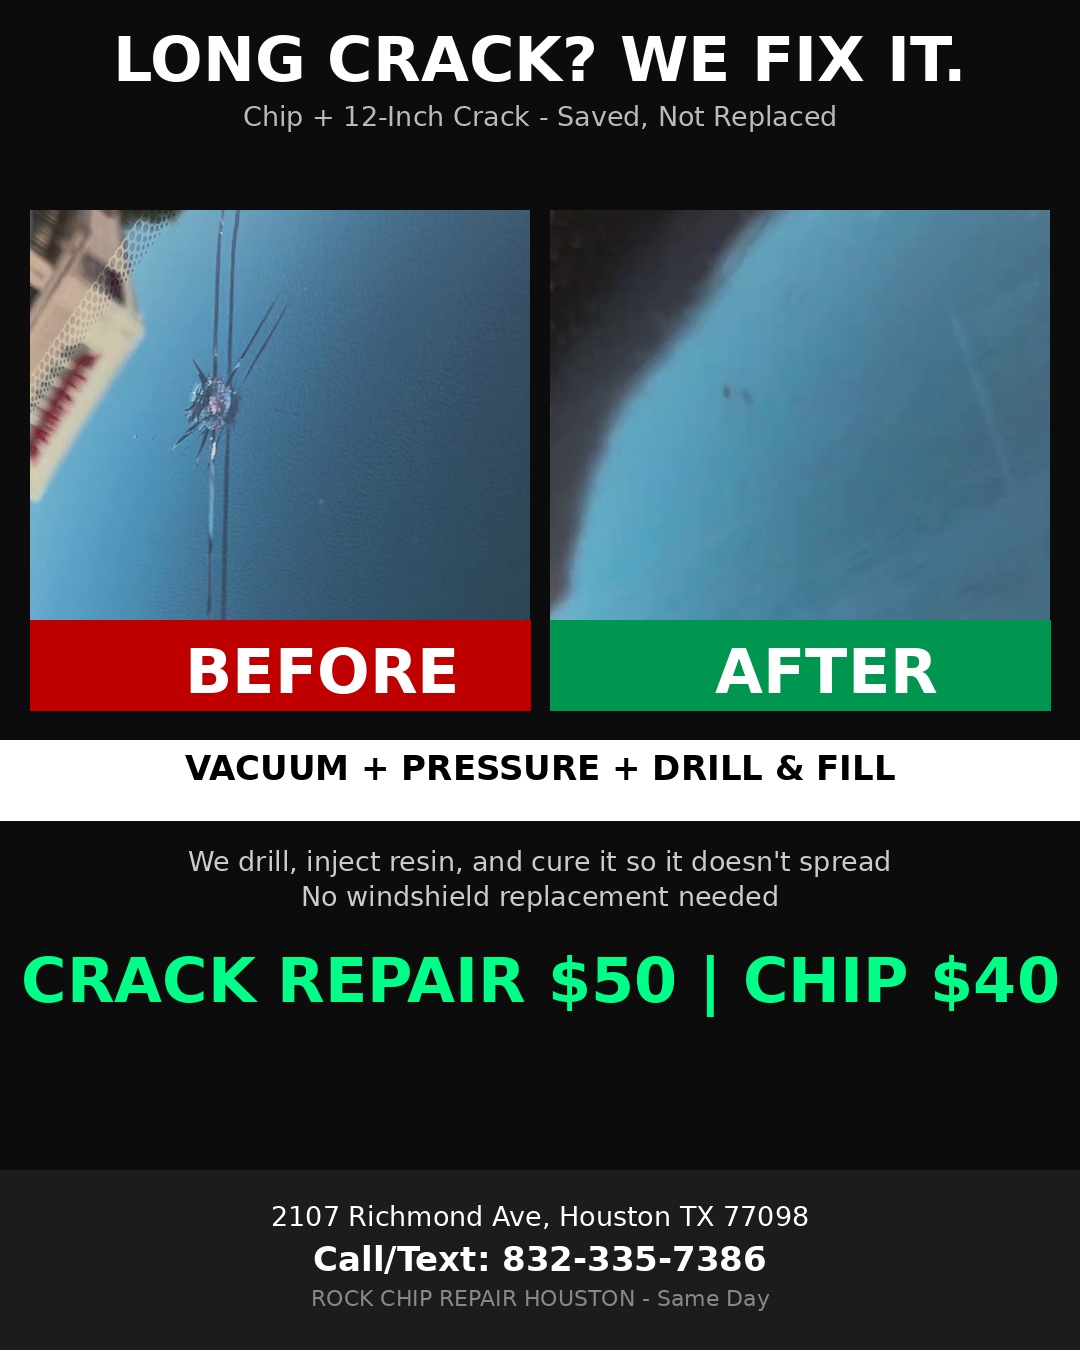
When Chips and Cracks recommends repair and customer approves it at 2107 Richmond Ave – work begins immediately – first come first serve – no appointment – Mon-Fri 9-5 Sat 9-3. Step 1: Clean loose glass dirt away – decide if drilling tiny bullseye hole necessary – opens path. Step 2: Damage is vacuumed and pressurized with injection pump – mount bridge – injector on chip – vacuum air out – pressure resin in – cycle 2-3 times – resin fills entire chip crack from tip to tip – $40 chip $50 crack up to 20 inches – premium resin bonds molecules stops spreading. Step 3: Once resin has entered entire crack pit area is touched up with super hard pit resin and taped – curing tab smooth. Step 4: Resin is cured with UV light from Houston sun plus UV lamp until hardened – 2-3 min – hard as glass. Step 5: Excess resin and tape removed with razor blade – polished – windshield cleaned – 90 percent invisible – lifetime warranty – windshield chip repair process explained.
How Long Does Chip Repair Take and What Affects Look – 2107 Richmond Ave
We have knowledge and expertise to solve all your windshield repair problems – 15-40 daily – we dont mind explaining what we are doing during repair – you can watch – sit in car AC on – best to repair rock chips and cracks right away before longer cracks form and become dirty – scotch tape TODAY – 1-3 weeks best look – older has dirt shows more – still stops spreading – saves $350 replacement plus $250 calibration. Chip or crack has to be completely dry and free of moisture in order for repair process to work properly – if raining or you just washed car wait few hours dry – on rainy days usually closed – call text before you come if raining – text photo free check. Try to keep in mind chip under stress will crack – Houston heat 100 degrees plus cold AC plus door slam plus bumps – if small stone hits area already under stress it will crack out immediately – be careful not to slam door too hard or turn defroster on high – place clear scotch tape over damage keeps dirt water out – tape TODAY then drive to 2107 Richmond Ave – first come first serve – 10-15 min – $40 $50 – lifetime warranty – cash Zelle Venmo Cash App PayPal – receipt for ticket dismissal – windshield chip repair process explained Houston TX.
Business Info – 2107 Richmond Ave – Since 1996: Chips and Cracks Windshield Repair – Auto Glass Shop – First come first serve – Mon-Fri 9-5 Sat 9-3 – 10-15 min – $40 chip $50 crack up to 20 inches – lifetime warranty – Owner Clint Norris – Phone 832-335-7386 – Text photo free – windshield chip repair process explained Houston TX – cash Zelle Venmo Cash App PayPal.